PowerBI Tiles Desktop
Adding high-definition screenshots of your Power BI visuals to PowerPoint presentations, Word documents, and even Outlook emails is very simple.
Download:
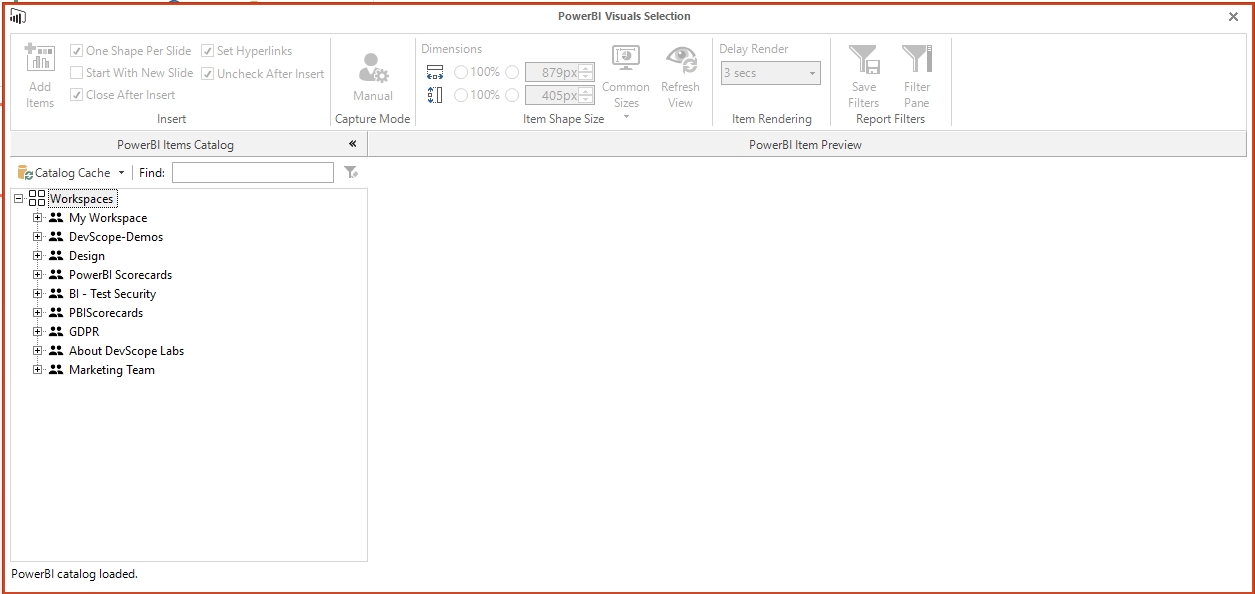
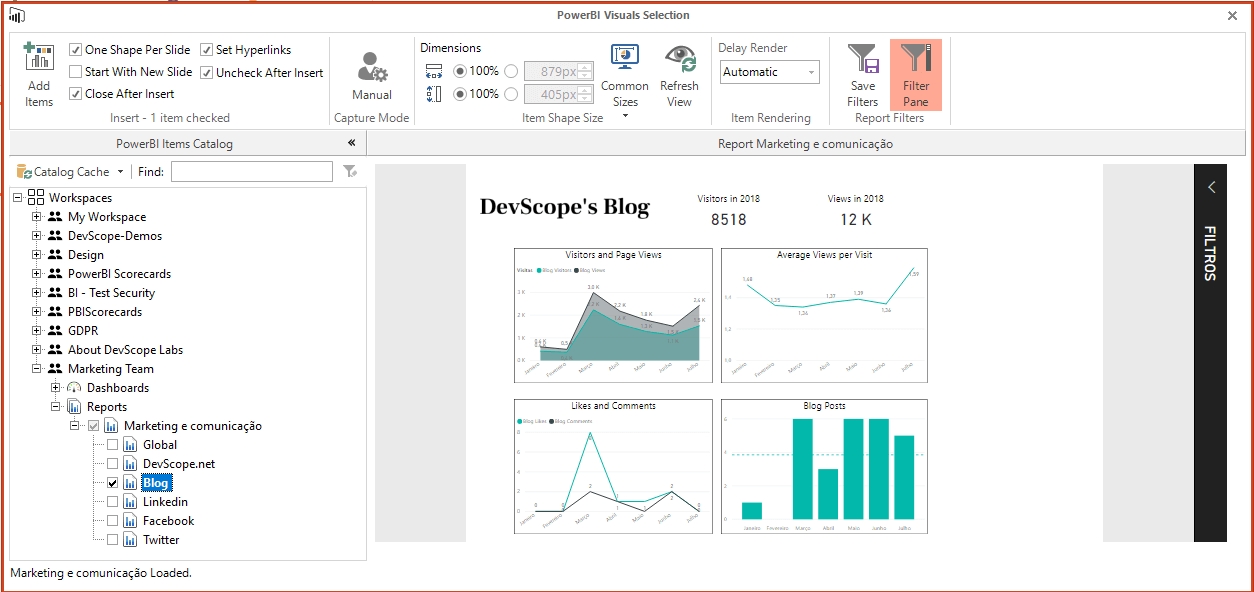
Starting with PowerPoint or Word, navigate to the new PowerBI Tiles Pro Desktop tab and click the Login button to connect your Power BI account to Office 365. Click Add PowerBI to open a window displaying your Power BI workspaces. Among others, you can set the size and delay render from here.


Navigate the list, check the ones you wish, and click Add Items to insert them in your document.
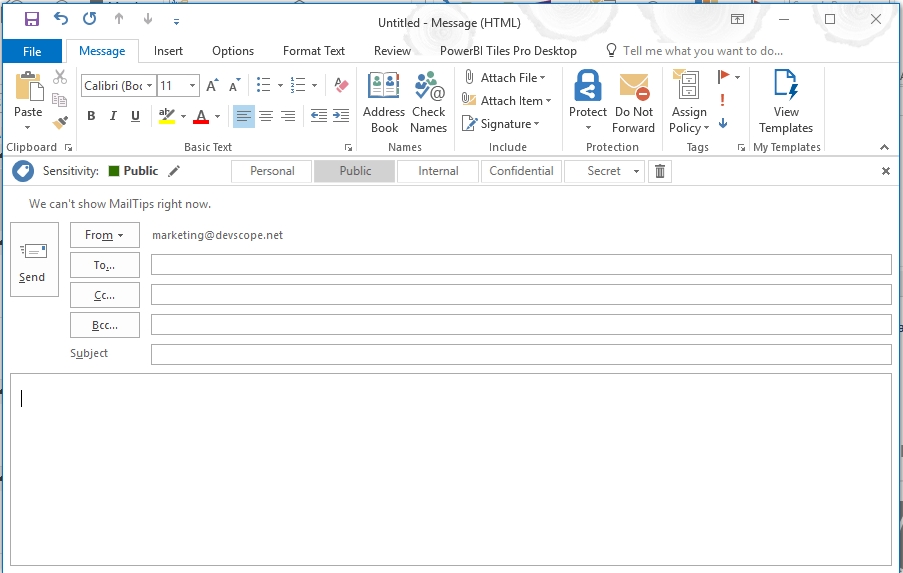
In Outlook, you need to start writing or answer an email to see the PowerBI Tiles Pro Desktop tab.

Note: when replying to an email, double-click it from the list otherwise the PowerBI Tiles Pro Desktop tab won’t appear.
Alternatively, you can add a Power BI report from the web by clicking Add From Url and pasting the link.
Once your Power BI reports are embedded, you can apply formatting just like you would to a regular picture.
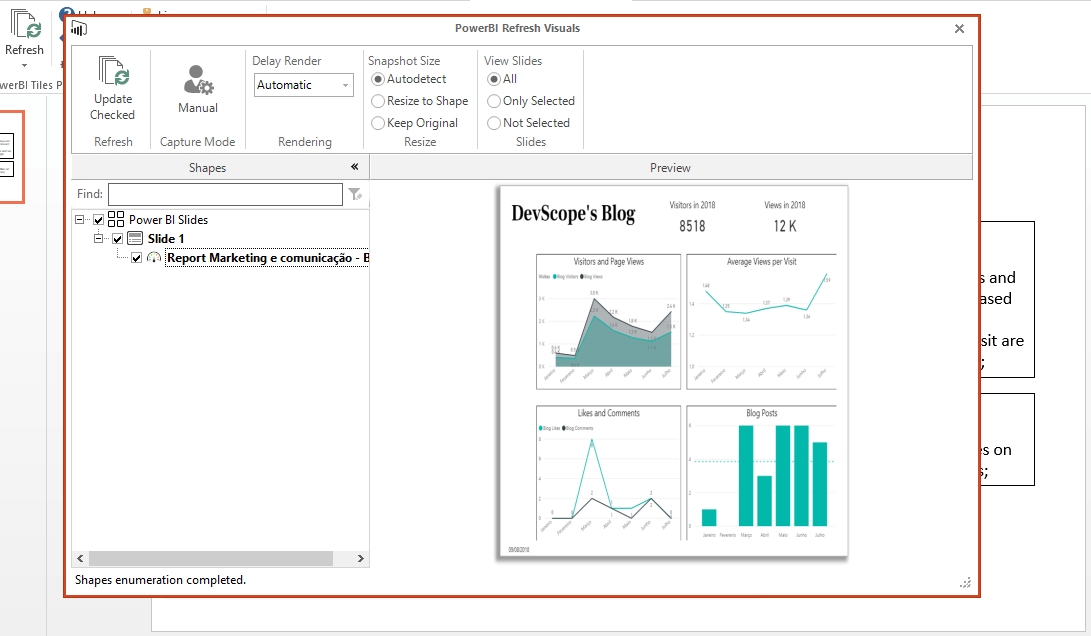
Whenever you need to update your data, go to the PowerBI Tiles Pro Desktop tab, hit the Refresh button and the app will make a list of all Power BI visuals in the document. Select those whose data you need to update and click Update Checked.

Last updated